Over the next 5 days you will be using the stitches that you cast on to increase the neckline. When I say “neckline” this includes everything from the cast on down to the underarm on the front, back and sleeves. You will begin at the neckline and work outward until you have reached the full amount of stitches (which will be determined by your raglan length) needed for the size of sweater you are making.
The beginning portion of the sweater will be knit flat until all of the front stitches have been added. At that point a pullover style sweater (or a cardigan that will be steeked) will be joined for knitting in the round. For a traditional cardigan style sweater the entire body of the sweater will be worked flat.
How Far To Knit Today
For the next few days you will be knitting a set portion of your total raglan length. Use this equation to determine how far you’ll need to knit today. Remember, the amount of knitting each day will vary from person to person because each person will have varying raglan measurements and stitch gauge.
_______ raglan length (see #3 on your measurement worksheet) x .30 = _______ inches of raglan to be knit today.
Example 1: Using my 9″ raglan measurement my math will look like this: 9 x .30 = 2.7 inches of raglan to be knit today.
Example 2: Using my 12″ raglan measurement my math will look like this 12 x .30 = 3.6 inches of raglan to be knit today.
How It Works
Now that you know how far to knit today we’ll talk about the specifics of how you’ll be going about it. In this section of knitting you will be increasing in a couple of places, at the sweater front and at the raglan “seams”.
Increasing To Build The Sweater Front
For a CREW NECK SWEATER – Increase one stitch at the beginning and end of every right side (RS) row to build your right front and left front stitches gradually.
For a V-NECK SWEATER – Increase one stitch at the beginning and end of every other RS row or every third RS row, the more rows you skip between increases the deeper the V.
The stitches that you increase at the beginning and end of the row are marked by your B stitch markers, allowing you to tell how many right front and left front stitches you have added.
NOTE: For a CREW NECK SWEATER – once you have increased to your desired number of right front and left front stitches you will cast on all of your center front stitches and join for working in the round to complete the circle of your neckline. This will not happen for a few more days but you should still be aware of what will eventually need to happen.
Increasing To Build The Raglan “Seams”
In addition to the increases for the right front and left front stitches you will increase before and after each A marker on every right side row to build the raglan “seam” that runs from the neckline to the underarm. These increases happen AT THE SAME TIME as your front increases and will continue after all the front stitches have been added until you have reached your desired raglan length.
Here is a video that shows how an increase row will work with both types of increases.
Raglan Increases Video Tutorial
3 Options For Mirrored Increases
In the process of increasing at the “A” markers you will want to use what is called a mirrored increase. In this section we have included videos for a few different ways to achieve this. It doesn’t matter which increases you choose but once you choose a method it is best to use that method the entire time.
#1 The Lifted Increase
That is lift one right (KRL) and lift one left (KLL) increases. This increase is achieved by lifting the stitch below onto the main needle and knitting it again. This increase will create the illusion of a center stitch down the ralgan seam. For this you will work as follows: KRL, k1, sl marker, k1, KLL at all A markers.

Mirrored Lifted Increases (Knit Left Loop and Knit Right Loop)
#2 The Yarn Over Increase
This increase leaves a eyelet along the each side of the raglan increase. At the first and third A markers you will YO, sl marker, K1, YO and at the second and fourth A markers you will YO, k1, sl marker, YO. This method will mirror the increase at each raglan “seam” and will make each side of the sleeve mirrored as well. For a raglan “seam” with two stitches in the center instead of 1 do a YO, k1, sl marker, k1, YO at all A markers.
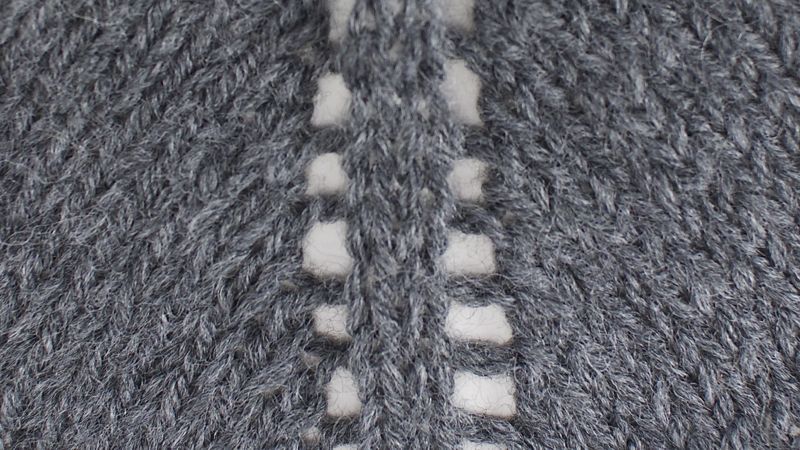
Yarn Over Increase with Two Center Stitches
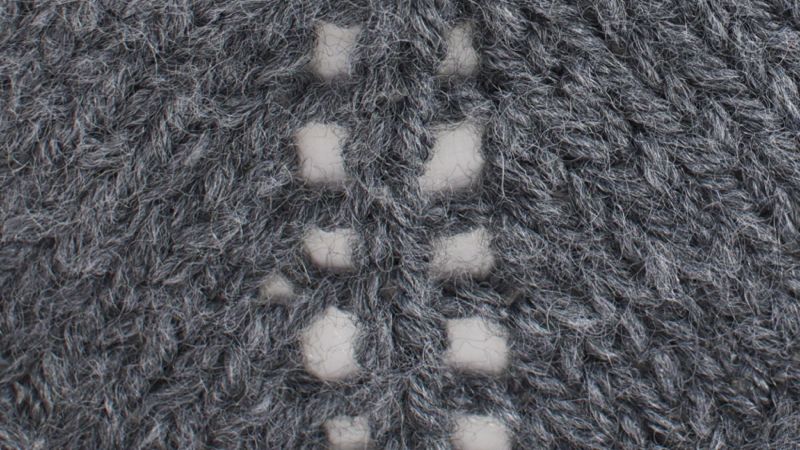
Yarn Over Increase with One Center Stitch
#3 The Stranded Increase
That is make one right (M1R) and make one left (M1L) increases. This increase is achieved by knitting into the strand between the stitches. When knit into the strand before the stitch it creates right leaning increase and when knit into the strand after the stitch it creates a left leaning increase. At the first and third A markers you will M1R, sl marker, K1, M1L and at the second and fourth A markers you will M1R, k1, Sl marker, K1L. This method will mirror the increase at each raglan “seam” and will make each side of the sleeve mirrored as well. For a raglan “seam” with two stitches in the center instead of 1 do a M1R, k1, sl marker, k1, M1L at all A markers.
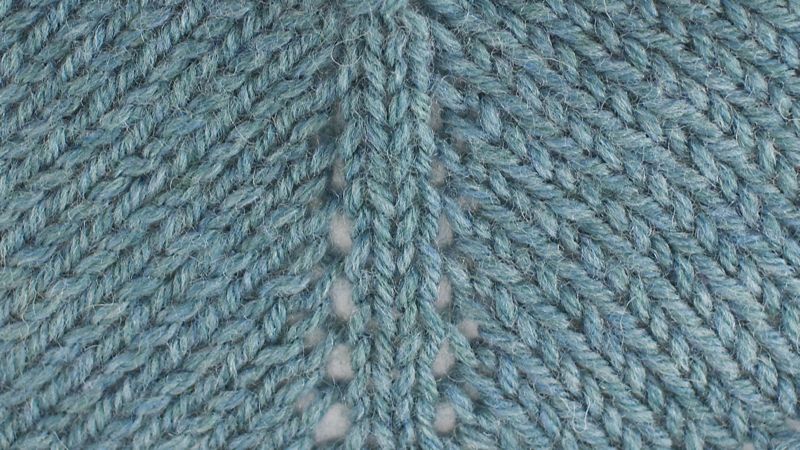
Make One Left and Make One Right with Two Center Stitches
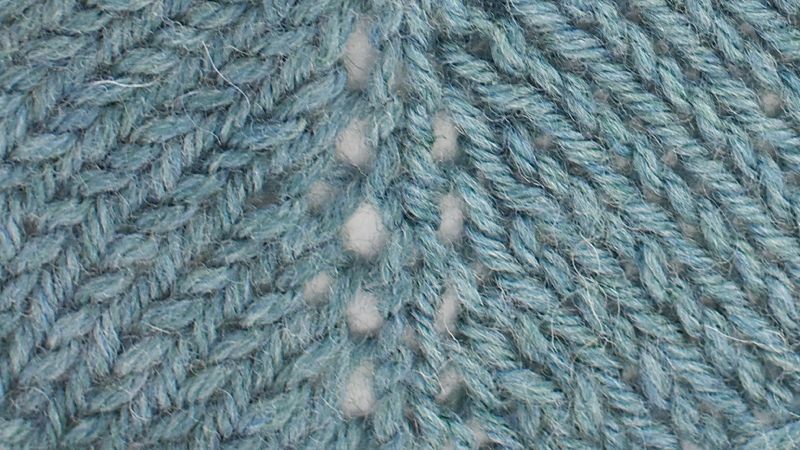
Make One Left and Make One Right with One Center Stitch