In order for your sweater to fit your unique shape you’ll need to take the time to get accurate body measurements and a proper gauge measurement. This step is incredibly important! In the long run the time you spend today will pay off with a properly fitting sweater that you’ll be proud to call your own!
Measuring Your Body
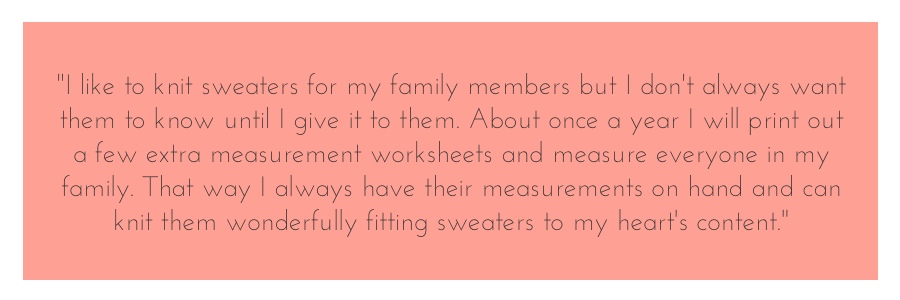
As much as you might want to try this yourself I HIGHLY recommend getting someone to help you. It’s hard to measure yourself accurately, so enlist the help of a close friend. Open a bottle of wine, swear a blood oath of secrecy, and measure each other.
When measuring, be sure to wear the undergarments you plan on wearing underneath your finished sweater. Keep the tape snug (not tight) and don’t cheat. If you are not making the sweater for yourself and the recipient is not readily available for measuring (or if it is a gift, a surprise, etc.) you can use a sweater or shirt that fits them comfortably instead. We also have a standard size guide, but remember, even though this guide will get you close it will not be a custom fit.
Download and print this worksheet to fill out as you measure:
Now grab your pencil, a friend and your measuring tape and start measuring!
Measuring Your Gauge
Before you begin knitting your sweater there is one very important number left to figure out and that is your gauge. Gauge refers to how many stitches and rows you are getting per inch of knitting. This number is very important because it will be used to make sure your sweater is the correct size for your body.
The beauty of creating a sweater using this framework is that your gauge can be whatever feels good to you, if you want a loose, drapey sweater or a tight, dense sweater both are just fine as long as your gauge is consistent.
When you make your gauge swatch use the stitch pattern you intend to use for your sweater. For your first 30-Day Sweater I recommend using stockinette and then as you become more comfortable with the construction method you can begin branching out into more complicated stitch patterns or detailing.
DO NOT SKIP THIS STEP!!!
Download and print this worksheet to fill out as you make a gauge swatch and measure it:
Knitting & Blocking Your Swatch
Use the following chart to determine how many stitches you should cast on and how many rows you should knit using the weight of yarn you have chosen for this project. These guidelines include a 4 stitch border of garter stitch to make it easier to measure from the center of the swatch.
| Yarn Weight | Minimum Pattern Stitches | Garter Edge Border | Total Stitches Cast On | Minimum Rows* |
|---|---|---|---|---|
| Fingering | 32 | 4 + 4 | 40 | 48 |
| Sport | 28 | 4 + 4 | 36 | 44 |
| DK | 24 | 4 + 4 | 32 | 40 |
| Worsted | 20 | 4 + 4 | 28 | 36 |
| Bulky | 16 | 4 + 4 | 24 | 32 |
| *includes border of 4 rows of garter at beginning and end | ||||
If you are making a pullover (or a cardigan that you plan to steek) you will also need to swatch in the round.
Make sure to wash your swatch. I know that this sounds easy to skip but it is actually a very important step. By washing your swatches you are finding out how they will react when you wash your finished sweater (sometimes it can be surprising) and you’re evening out the stitches at the same time. Believe me, it’s worth it. Here’s how:
- Soak finished swatch in warm water for 10-15 minutes, gently squeezing out all air bubbles.
- Drain sink and squeeze out excess water, being careful not to twist or wring fabric.
- Roll swatch in a clean, dry towel, burrito-style and stomp on rolled towel from end-to-end.
- Remove swatch. Fabric should feel damp but not saturated.
Once you have your swatch(es) washed lay your swatch on a flat surface.
Measuring Your Swatch
Using a RULER (not a tape measure), measure 4 inches in the center of the swatch for both stitches (horizontal) and rows (vertical). Place a straight pin in-between the stitch columns to mark the beginning and then place another at the 4 inch mark. Be sure to place the second pin exactly at the 4 inch mark, DO NOT fudge the numbers to get a certain gauge.
Repeat this step TWO MORE times in different areas of the swatch.
NOTE: If you use the above calculator you can skip the math below.
NOTE: Round to the nearest quarter inch. 1/4 = .25, 1/2 = .5, 3/4 = .75
Stitch measurement 1 = [ ]
Stitch measurement 2 = [ ]
Stitch measurement 3 = [ ]
Then use the following equation to find your average:
Add all three measurements [ ] and then divide by 3 = [ ] (this is your average stitch measurement over 4 inches)
Repeat this sequence for your row measurements
Row measurement 1 = [ ]
Row measurement 2 = [ ]
Row measurement 3 = [ ]
Add all three measurements [ ] and then divide by 3 = [ ] (this is your average rows measurement over 4 inches)
Once you have your average stitch and row measurement over 4 inches use the following equation to find your stitches per inch:
Average stitch measurement [ ] ÷ 4 = Stitch Gauge [ ]
Average row measurement [ ] ÷ 4 = Row Gauge [ ]
Great job!
When you’re finished with this step, move onto Day 1, Part 3: Preparing to Knit